How to work with Subversion under Gforge
Introduction
The ITM-TF uses the Gforge system as its
Collaborative Development Environment (CDE) .
The system features a variety of tools like trackers, bug reports, newsfeeds, a
content management system (CMS) , Wikis, Forums, and documentation systems to facilitate the
development of projects. Above all it hosts the repositories of the projects under
development and features various version control systems.
The ITM-TF has opted for Subversion as its tool for version control.
The following material is supposed to serve as an introduction to the use of subversion under
Gforge.
Projects in Gforge
Subversion repositories are projects in Gforge.
After logging in to the ITM Portal you should be seeing
the ITM-TF front page.

Click on the register called Gforge on the top of the page (marked by a red circle) to access Gforge.

You are then taken to the front page of Gforge which shows recent news, a list of recently registered projects, and a diagram of the recent commit activity of all ITM projects under Gforge.
Click on the register labelled Projects to access the list of projects.
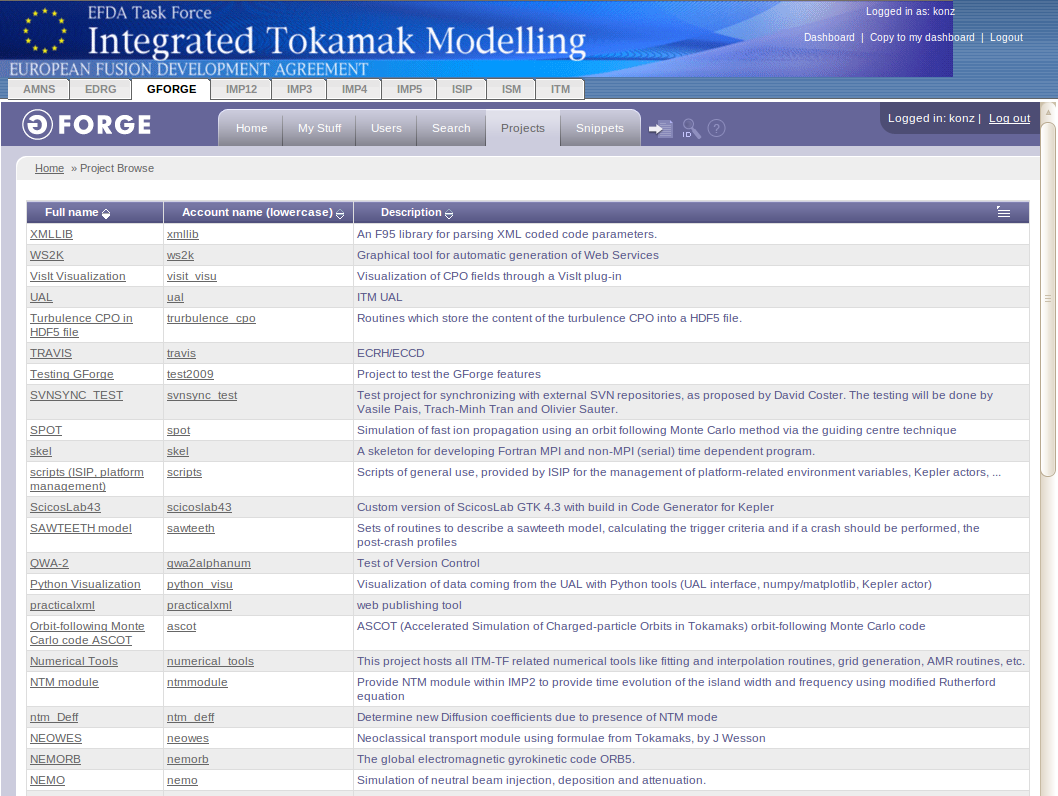
The list shows you full names, the account names, and short descriptions of all the ITM projects under Gforge. The account names are simultaneously the names of the corresponding repositories under subversion.
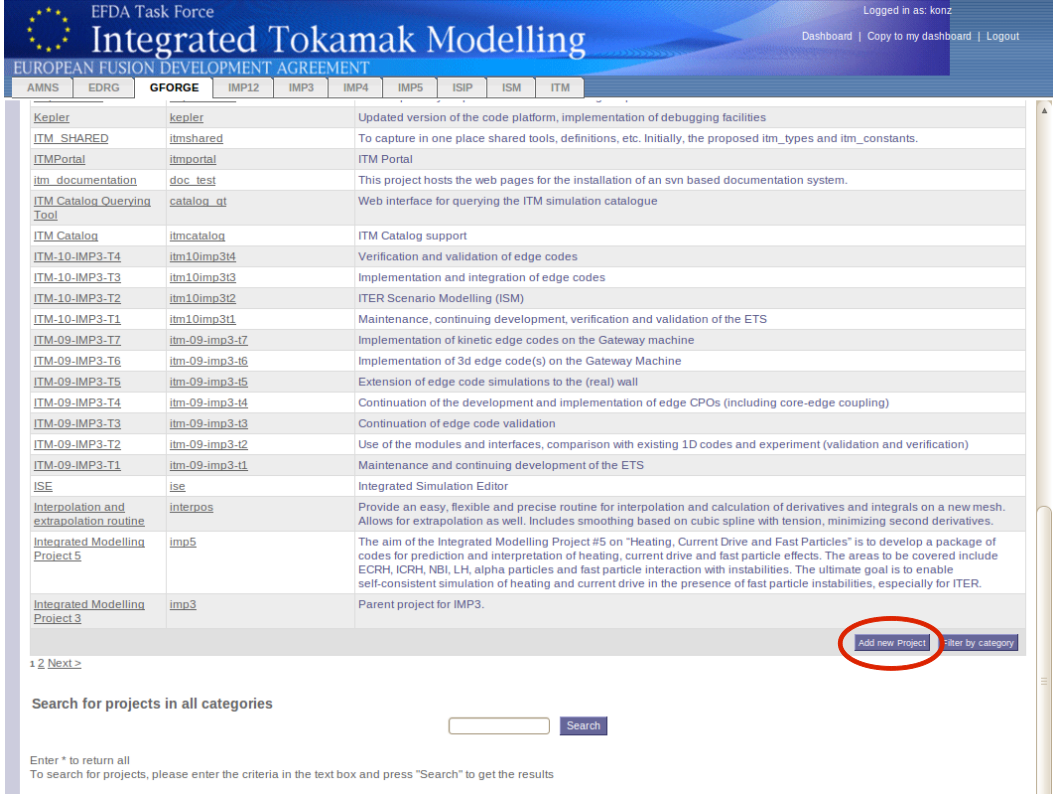
At the bottom of the page, you will find a button labelled Add new Project (marked by a red circle). By clicking this button you will be taken to the registration page for new projects under Gforge. If you like to start a new project by creating a fresh repository, this is what you have to do.
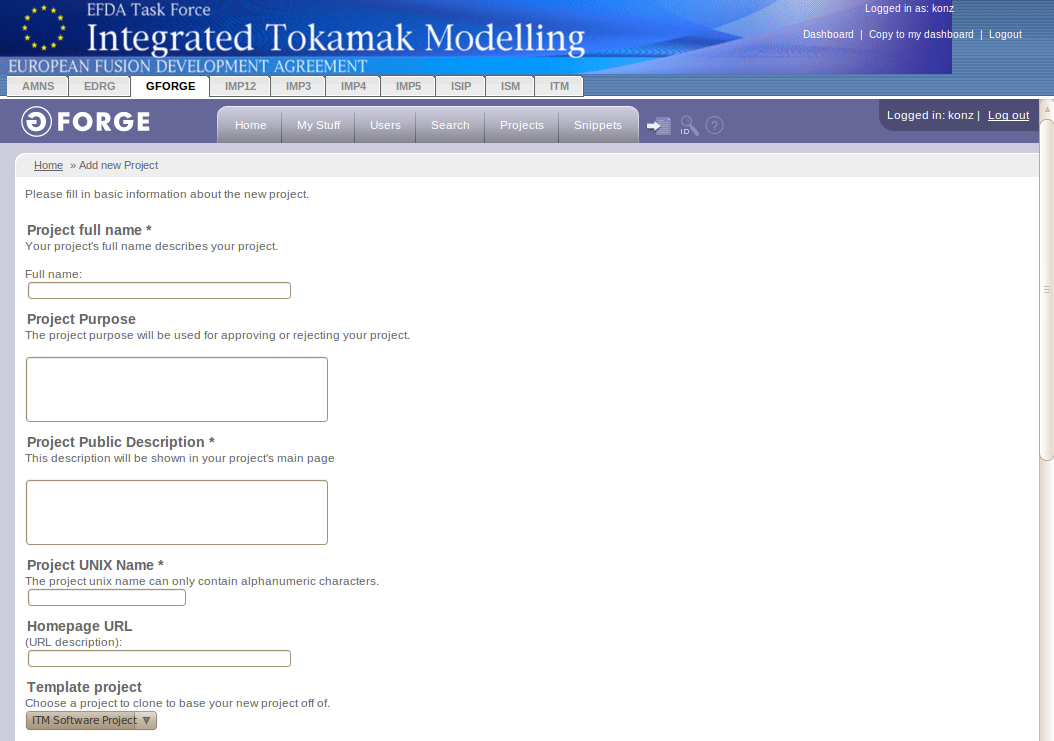
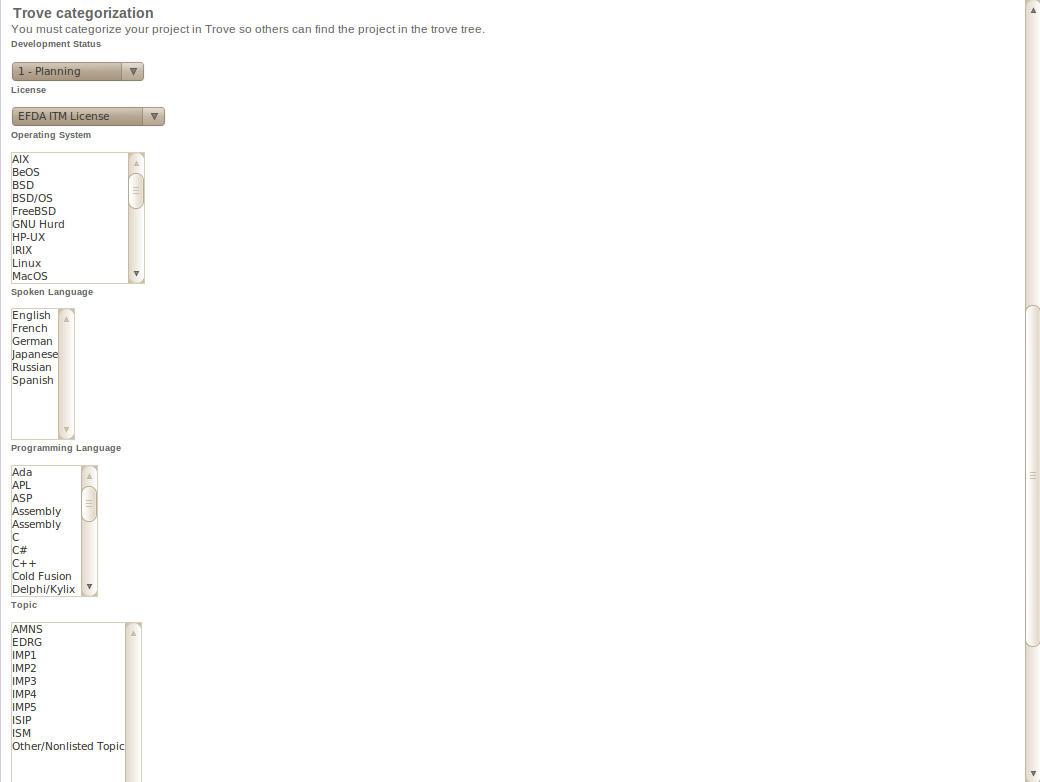
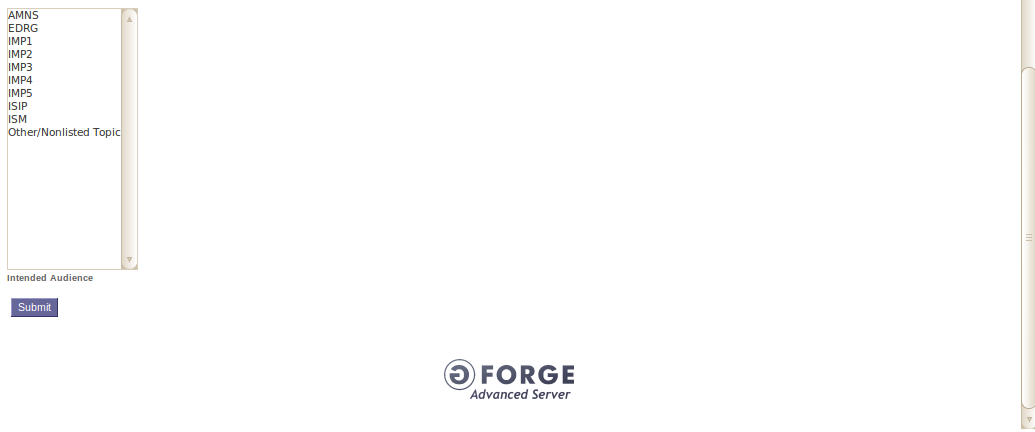
On the registration page, you are asked to specify a variety of details about the project including a short description of the project and the trove categorization. The critical field is the one labelled Project UNIX Name which determines the name of the subversion repository.
Once you filled all the fields and selected an appropriate categorization, you should hit the submit button to create your project. Please ensure that you do not duplicate already existing projects.
By clicking on any of the projects in the project list you are taken to the project page. Below you see the example of the doc_test project page.
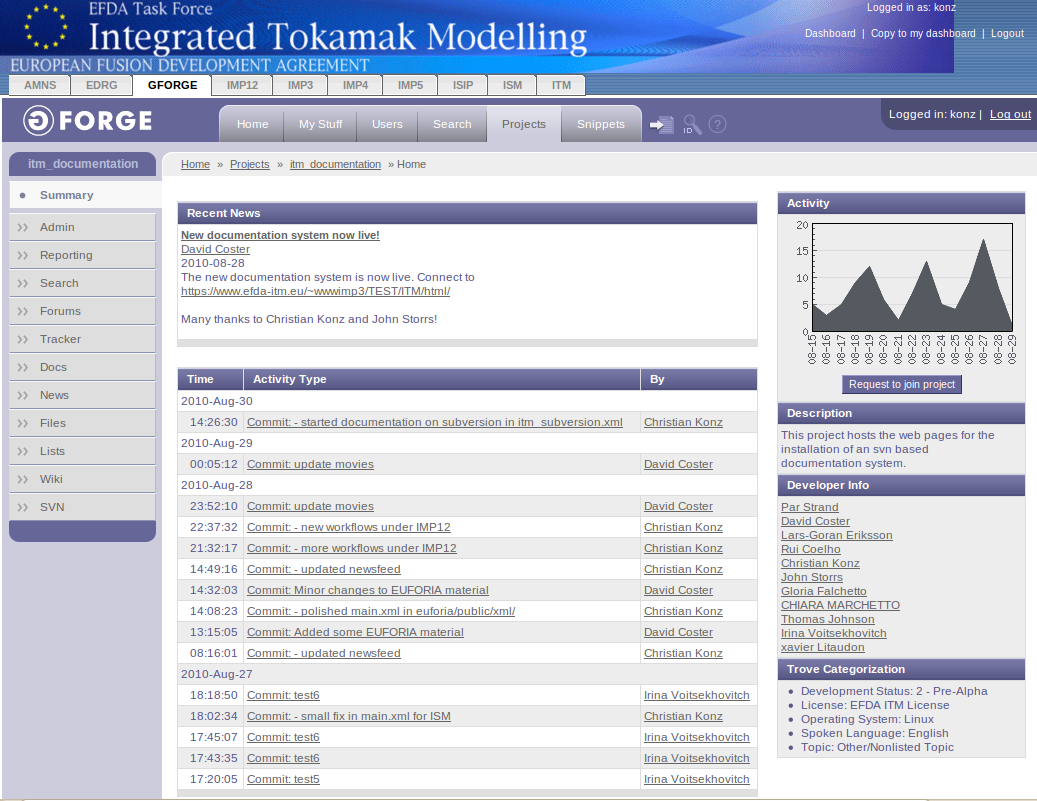
On the project page, you see a diagram showing the project's activity and a list of the recent commit messages. You'll also find a button Request to joing project which you might use to join a project (see How to become a member of a Gforge project).
Furthermore, you'll find a list of all developers for this project and a short description of the project together with the trove categorization.
If you have administrator rights for a project, you might click on the Admin register on the left-hand side.
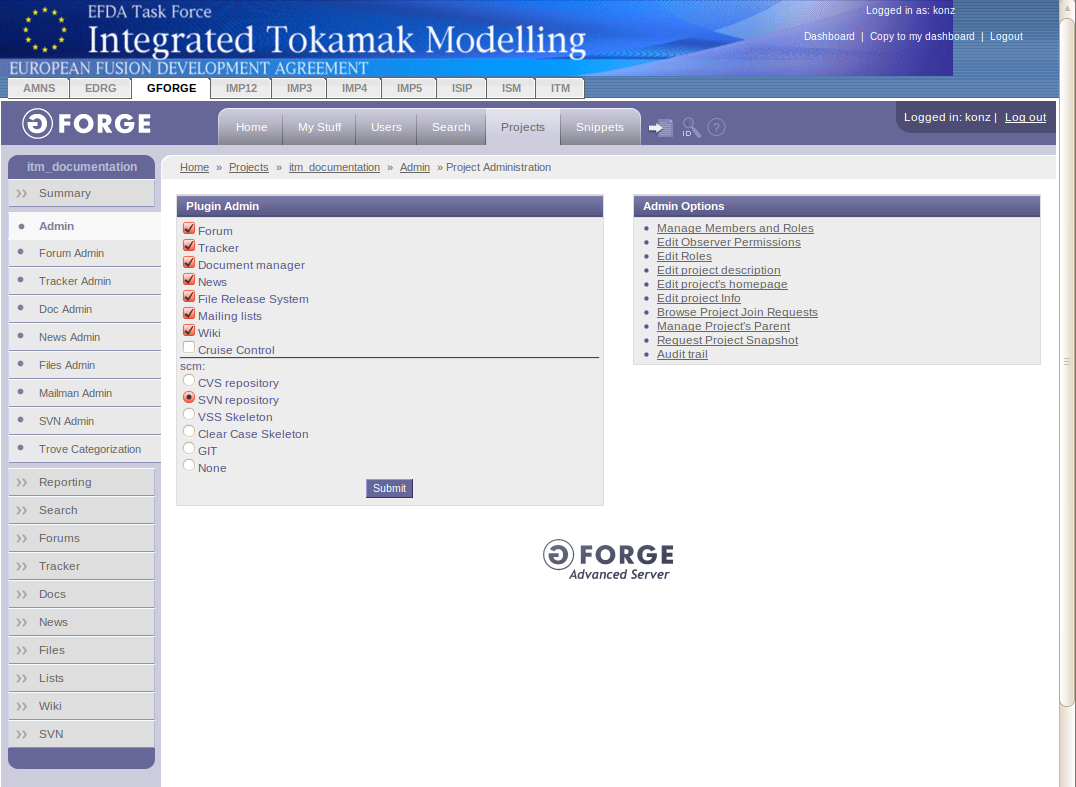
In the Admin section, you may manage members of the project and their roles, define and modify roles, honor 'requests to join' and much more. The key item here is Manage Members and Roles.
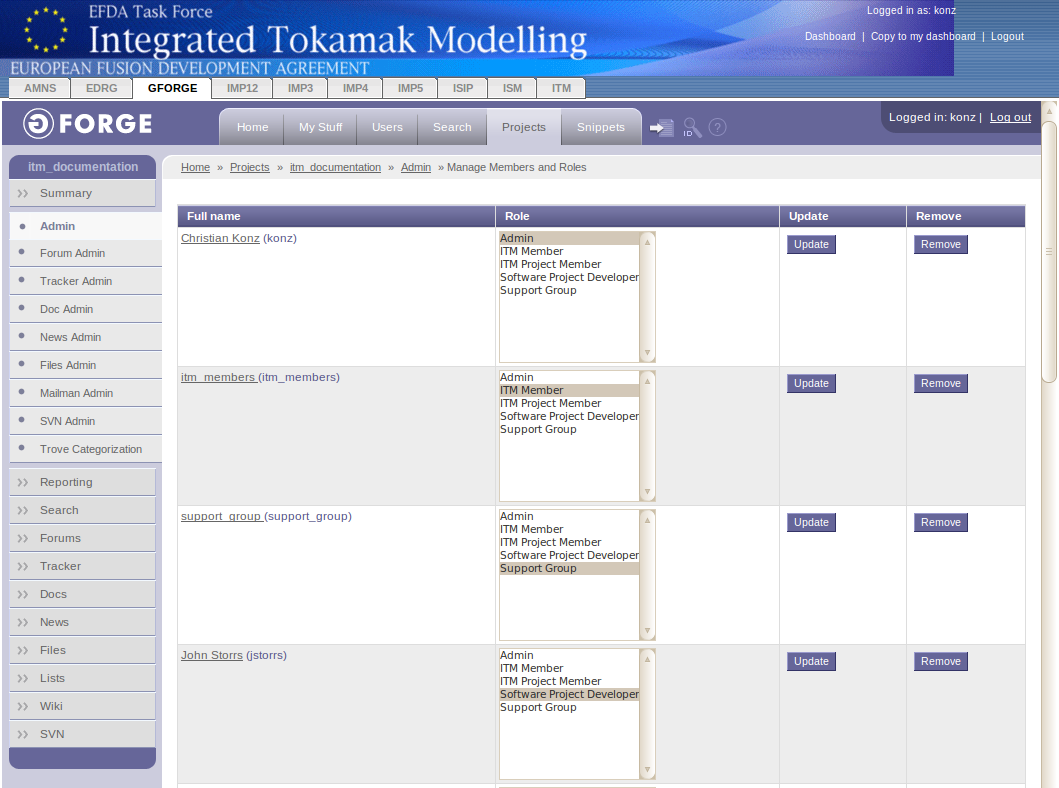
In this section, you can manage each member's access permissions to the subversion repository. This can be done for a single user or for an entire group. A predefined group for instance, which has read access to the repository, is ITM Members. Every ITM member is automatically granted read access to your repository. If you like to change this, you need to got to the Edit Roles section.
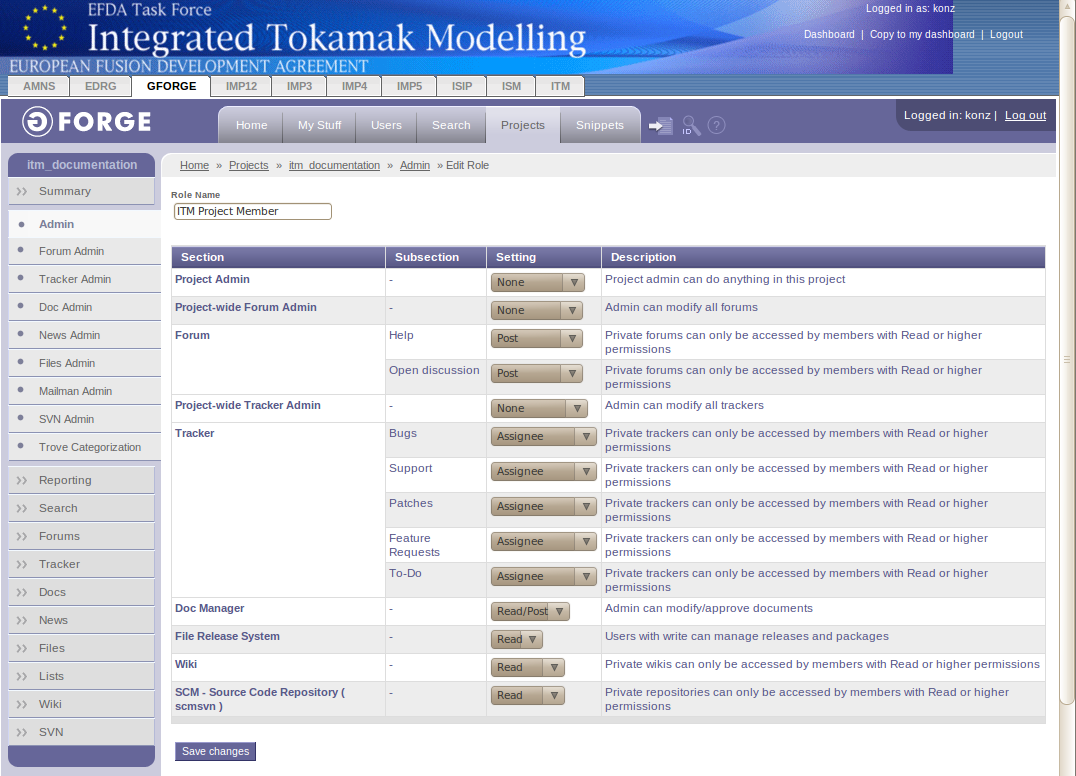
Here you can set access permissions in a granular way. If you like to change the access permission to the subversion repository, have a look at the SCM settings.
last update: 2012-07-18 by coster